In this blog i’m going to explain how to create a new simple rails app
Note: This is 95% only suitable for Linux operating system
Do ensure that rails is installed on your system
to check type rails -v to check the version of rails installed on your system here the link how to install rails on your system
After installation completed you can follow the next step
to create new project rails had amazing command you no need create separate directories manually you just type the following command
rails new your_project_name
Example: rails new profilebook
it will create some directories and files it will look like following
create
create  README.rdoc
create  Rakefile
create  config.ru
create  .gitignore
create  Gemfile
create  app
create  app/assets/javascripts/application.js
create  app/assets/stylesheets/application.css
create  app/controllers/application_controller.rb
create  app/helpers/application_helper.rb
create  app/views/layouts/application.html.erb
create  app/assets/images/.keep
create  app/mailers/.keep
create  app/models/.keep
create  app/controllers/concerns/.keep
create  app/models/concerns/.keep
create  bin
create  bin/bundle
create  bin/rails
create  bin/rake
create  config
create  config/routes.rb
create  config/application.rb
create  config/environment.rb
create  config/secrets.yml
create  config/environments
create  config/environments/development.rb
create  config/environments/production.rb
create  config/environments/test.rb
create  config/initializers
create  config/initializers/assets.rb
create  config/initializers/backtrace_silencers.rb
create  config/initializers/cookies_serializer.rb
create  config/initializers/filter_parameter_logging.rb
create  config/initializers/inflections.rb
create  config/initializers/mime_types.rb
create  config/initializers/session_store.rb
create  config/initializers/wrap_parameters.rb
create  config/locales
create  config/locales/en.yml
create  config/boot.rb
create  config/database.yml
create  db
create  db/seeds.rb
create  lib
create  lib/tasks
create  lib/tasks/.keep
create  lib/assets
create  lib/assets/.keep
create  log
create  log/.keep
create  public
create  public/404.html
create  public/422.html
create  public/500.html
create  public/favicon.ico
create  public/robots.txt
create  test/fixtures
create  test/fixtures/.keep
create  test/controllers
create  test/controllers/.keep
create  test/mailers
create  test/mailers/.keep
create  test/models
create  test/models/.keep
create  test/helpers
create  test/helpers/.keep
create  test/integration
create  test/integration/.keep
create  test/test_helper.rb
create  tmp/cache
create  tmp/cache/assets
create  vendor/assets/javascripts
create  vendor/assets/javascripts/.keep
create  vendor/assets/stylesheets
create  vendor/assets/stylesheets/.keep
run  bundle install
Move to your project
cd profilebook
“now you created rails project and you where in your project. By default rails had server you no need install seperate server like apache”
To run rails server
rails server (or) rails s
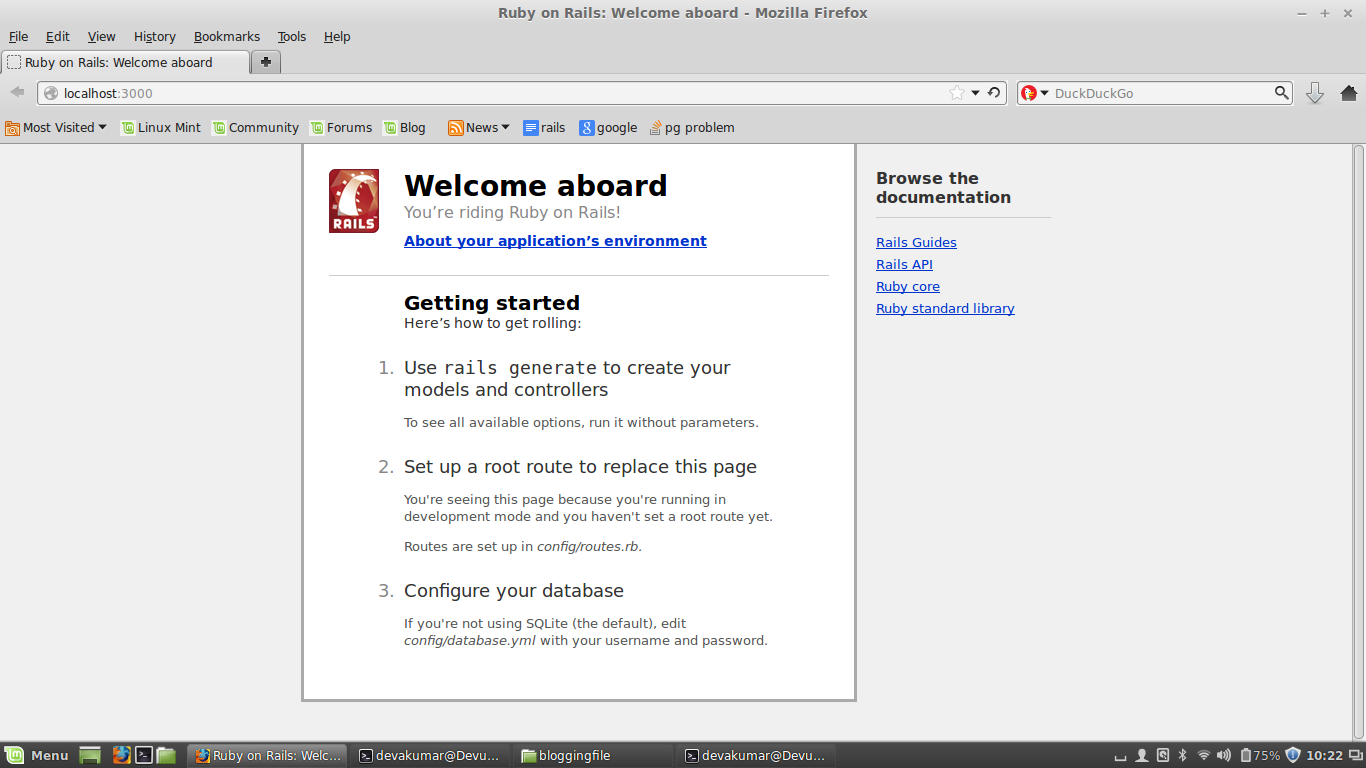
To check whether server is running on your system open your browser and give the following URL
use ctrl+c to stop server in terminal
“yes now your server is running. now i’m going to use scaffold generally scaffold means staging which is used during building construction time.similarly scaffold used to construct many files in rails you just see the magic by typing following command”
rails generate scaffold <your_table_name> <field:date_type>
Example: rails generate scaffold Profbook name:string title:string content:text
It will generate the following files
invoke  active_record
create    db/migrate/20141123050104_create_profbooks.rb
create    app/models/profbook.rb
invoke    test_unit
create      test/models/profbook_test.rb
create      test/fixtures/profbooks.yml
invoke  resource_route
route    resources :profbooks
invoke  scaffold_controller
create    app/controllers/profbooks_controller.rb
invoke    erb
create      app/views/profbooks
create      app/views/profbooks/index.html.erb
create      app/views/profbooks/edit.html.erb
create      app/views/profbooks/show.html.erb
create      app/views/profbooks/new.html.erb
create      app/views/profbooks/_form.html.erb
invoke    test_unit
create      test/controllers/profbooks_controller_test.rb
invoke    helper
create      app/helpers/profbooks_helper.rb
invoke      test_unit
create        test/helpers/profbooks_helper_test.rb
invoke    jbuilder
create      app/views/profbooks/index.json.jbuilder
create      app/views/profbooks/show.json.jbuilder
invoke  assets
invoke    coffee
create      app/assets/javascripts/profbooks.js.coffee
invoke    scss
create      app/assets/stylesheets/profbooks.css.scss
invoke  scss
create    app/assets/stylesheets/scaffolds.css.scss
“you can open the files that you have created”
Now update your database by typing
rake db:migrate
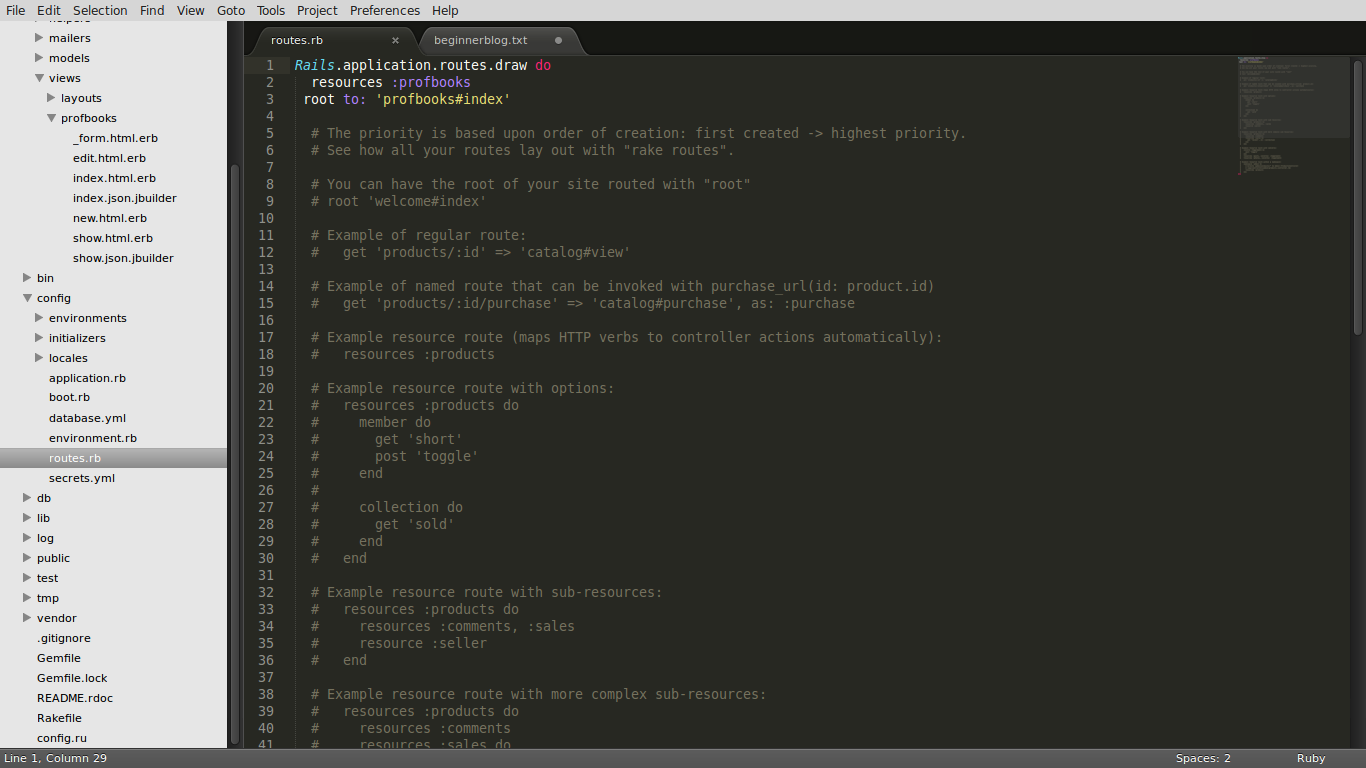
Now root your index.html which is in /profbook/app/views/profbooks. to root the file
open config/routes.rb file and add the following line
root to: ‘profbooks#index’
your file should look like
Now again run your server by typing
rails s`
open your browser and type the following URL again
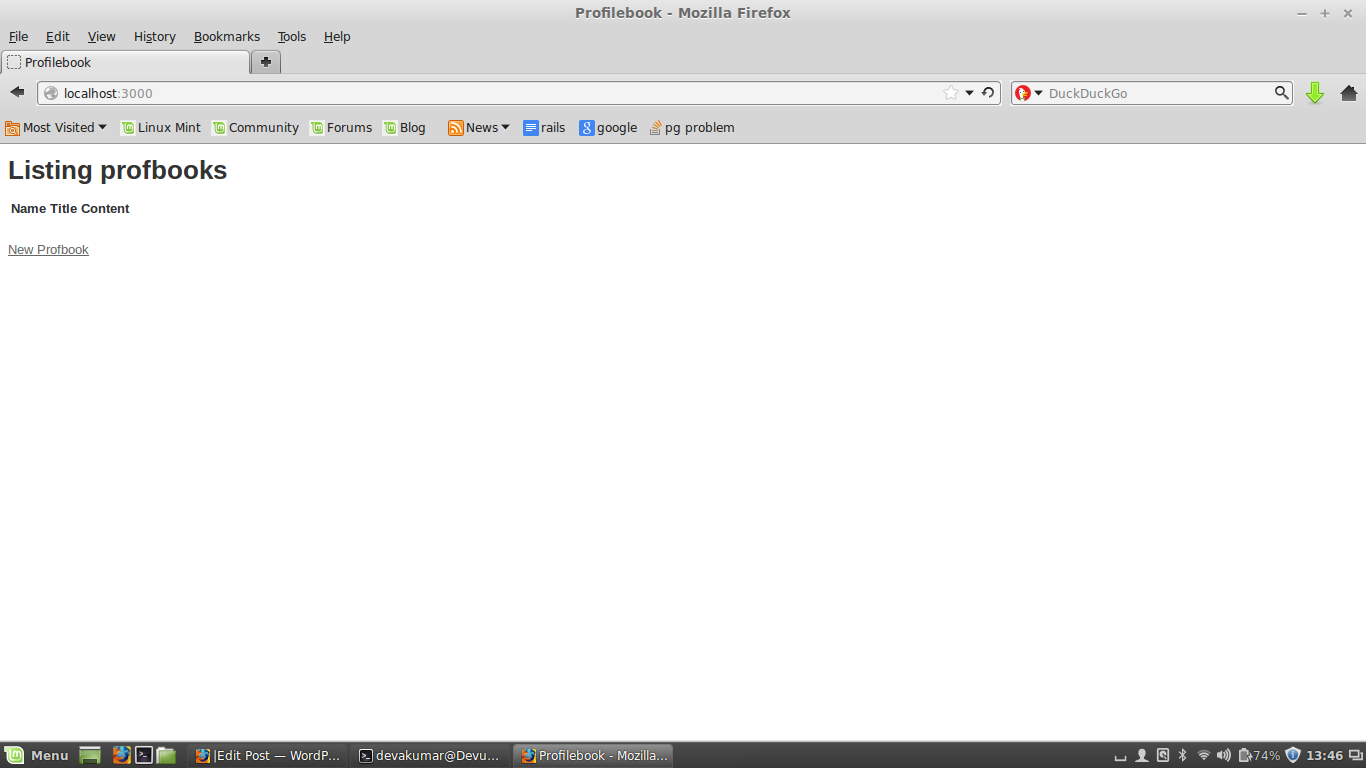
“heeeei yes now you created rails project… now you can create new profilebook you can give your details and you can view.”
I just added some gems and modified some html tags in my project
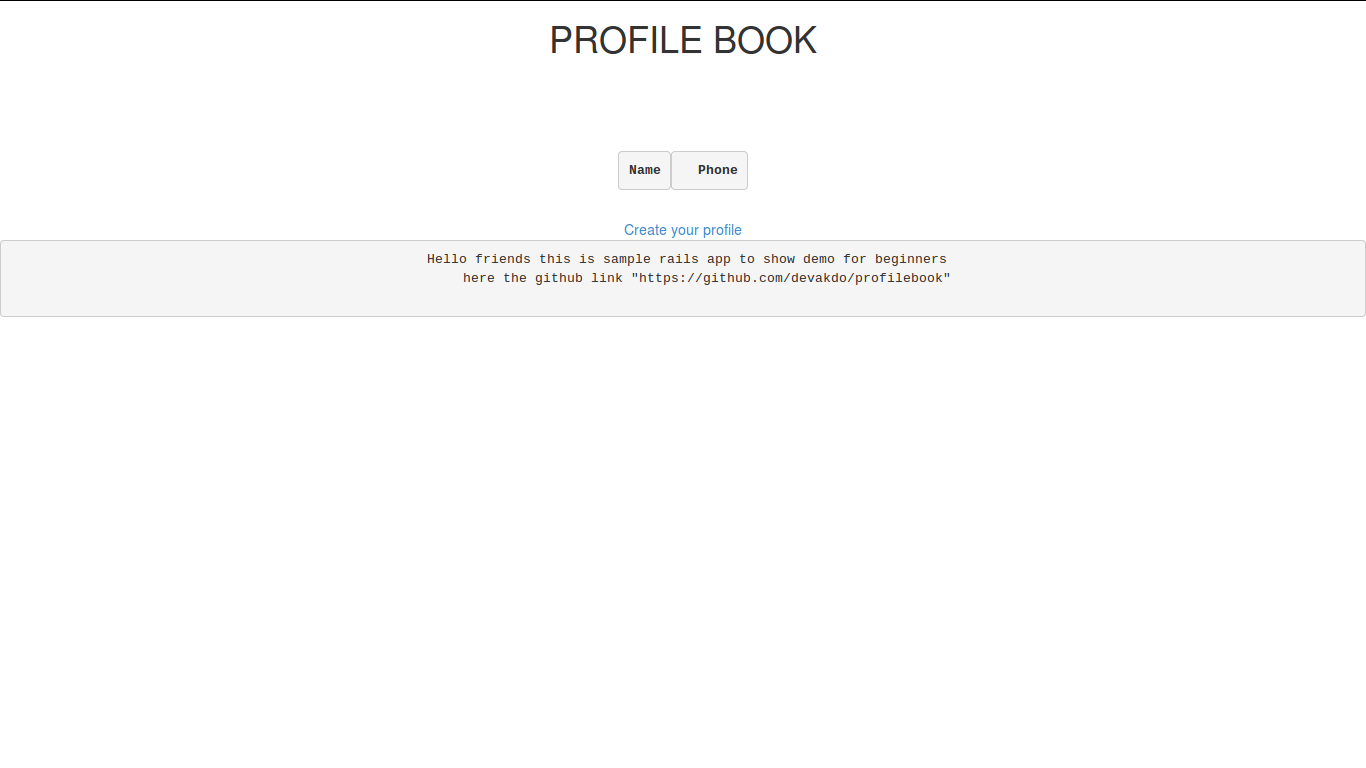
Rails tutorial part-2 …comming soon…